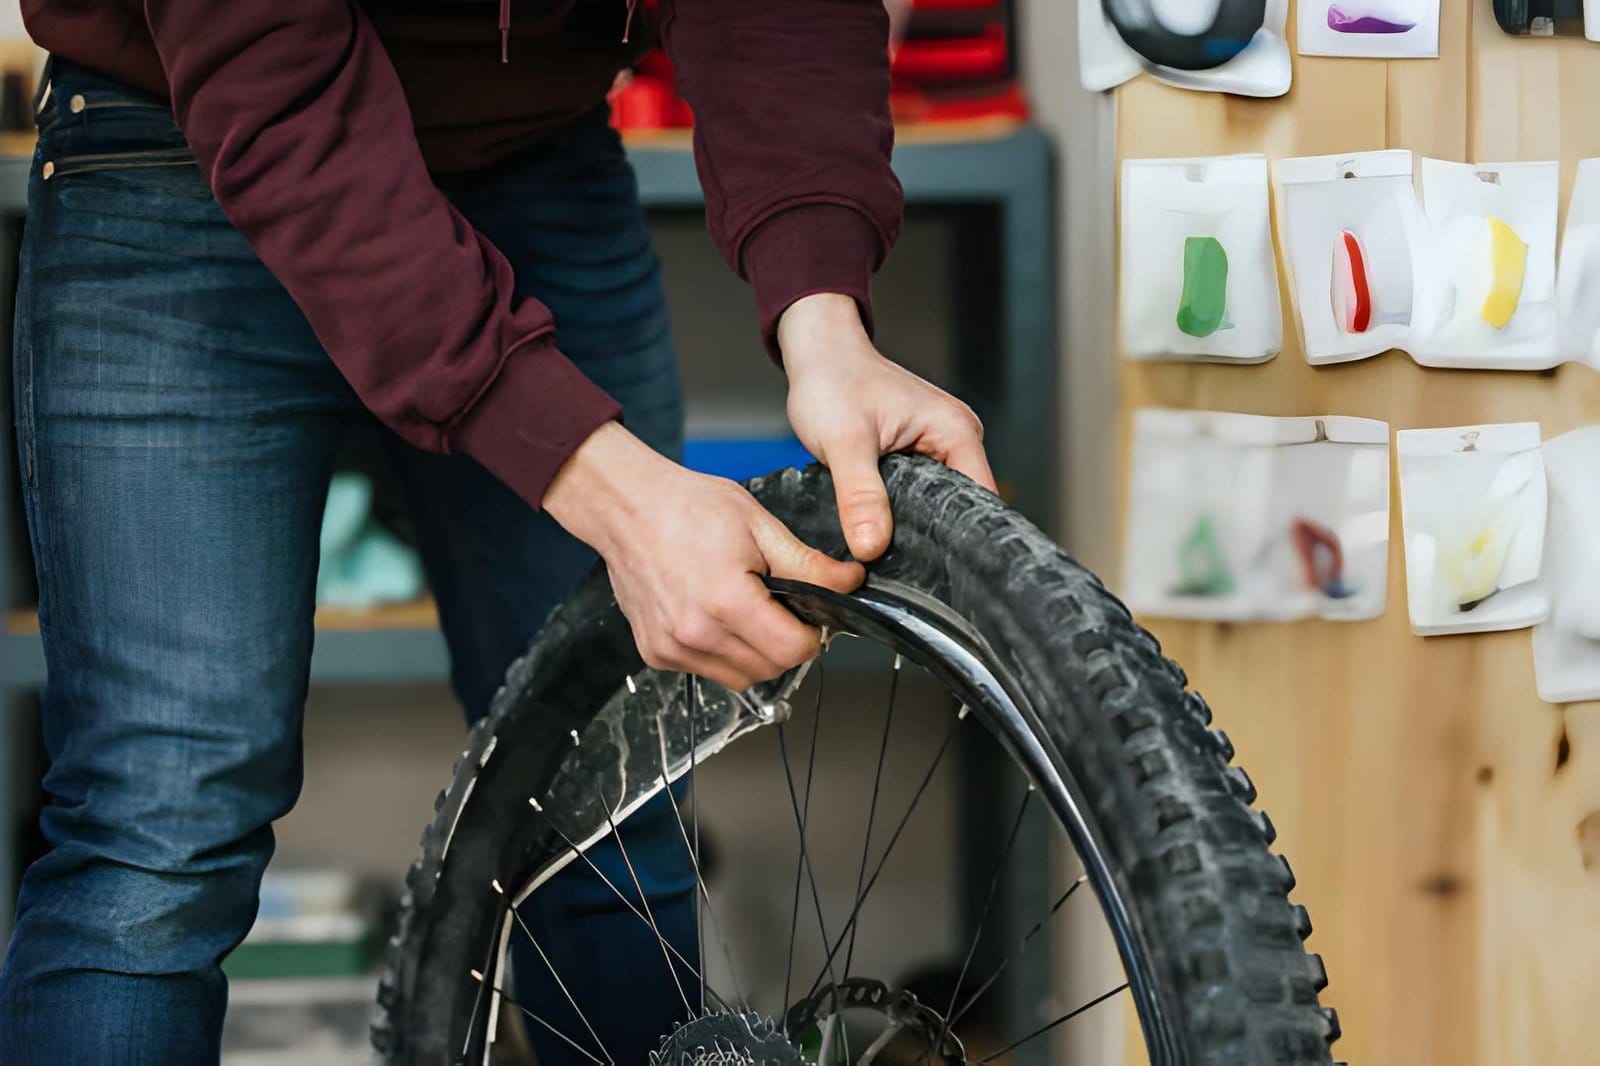
How to Fix a Flat Bike Tire in 10 Minutes: The Easy Ultimate Guide
Fix a flat bike tire sounds stressful when you’re miles from your car, but it’s one of the most useful repairs every cyclist can learn. With a few basic tools and some practice, you can usually get back on the road or trail in about 10 minutes.
A flat does not have to end your ride. The basic process is simple: remove the wheel, release the tire bead, remove the damaged tube, find the cause of the puncture, install a new tube or patch the old one, and inflate the tire carefully.
To fix a flat bike tire, remove the wheel, use tire levers to unseat one side of the tire, remove the damaged tube, inspect the tire and rim for the source of the puncture, then install a new tube or patch the old one. Inflate gradually and make sure the tire bead is seated evenly before riding.
What You’ll Need to Fix a Flat Bike Tire
- Tire levers — two or three plastic levers are enough for most bike tires.
- A spare inner tube — choose one that matches your wheel size and valve type.
- A patch kit — useful as a backup or for repairing a tube at home.
- A pump or CO2 inflator — a mini pump is practical for roadside repairs.
- A rag or gloves — optional, but useful when the tire and road are dirty.
A reliable pump is one of the most important things to carry on a ride. If you need a budget option, see our
bike pump review.
Step 1: Remove the Wheel
Turn the bike upside down or place it in a repair stand. A stand makes the job easier, but you can still fix a flat bike tire on the roadside without one.
If the bike uses rim brakes, release the brake before removing the wheel. Disc brakes do not require this step, but avoid squeezing the brake lever while the wheel is out.
Open the quick-release lever or loosen the thru-axle. For a rear wheel, shift the chain onto the smallest rear cog first. This gives the derailleur more room and makes wheel removal easier.
If your brakes also need attention after the repair, our guide on
adjusting bike brakes for better stopping power
can help.
Step 2: Get the Tire Off the Rim
Fully deflate the tire if there is still air inside the tube. With a Schrader valve, press the small center pin. With a Presta valve, unscrew the small valve nut and press the pin to release the air.
Insert a tire lever underneath the tire bead, which is the edge of the tire that sits inside the rim. Hook the lever onto a spoke if the design allows it.
Place a second lever a few inches away and work it around the rim until one side of the tire comes free. You normally do not need to remove the entire tire.
If the tire is especially tight, avoid using metal tools or excessive force. Plastic tire levers are less likely to damage the rim or tire.
Step 3: Find What Caused the Flat
This is the step riders most often rush. If a piece of glass, thorn, wire, or another sharp object is still inside the tire, your replacement tube may go flat again almost immediately.
Remove the tube and carefully inspect the inside of the tire. Run your fingers along the casing slowly, watching for anything sharp that may be difficult to see.
Also inspect the rim tape. If it has shifted, worn through, or exposed a spoke hole, it can damage the tube from the rim side.
The location and shape of the hole in the old tube can provide another clue. A puncture on the outside-facing surface often points to road debris. Two small cuts close together can indicate a pinch flat caused by an impact with low tire pressure.
Step 4: Install a New Tube or Patch the Old One
During a ride, a replacement tube is usually the quickest option. You can take the damaged tube home and patch it later. A patch kit is especially useful when you are out of spare tubes or repairing the bike at home.
If you want to fix a flat bike tire quickly during a ride, carrying at least one compatible spare tube is usually easier than trying to patch a tube beside the road.
| Situation | Better Option |
|---|---|
| Mid-ride and you need to keep moving | Install a spare tube |
| Small, clean puncture at home | Use a patch kit |
| Tear near the valve or a large gash | Replace the tube |
| Repeated flats | Inspect the tire, rim tape, and tire pressure |
To patch an inner tube, first identify the puncture and roughen the area with the sandpaper included in most patch kits. Apply the glue and allow it to become tacky according to the kit instructions. Press the patch firmly onto the prepared area and give it enough time to bond.
Step 5: Install the Tube and Reseat the Tire
Put a small amount of air into the new or patched tube. You only need enough air to give it some shape.
Insert the valve through the valve hole in the rim first. Then tuck the rest of the tube inside the tire.
Starting opposite the valve, push the tire bead back onto the rim with your thumbs. Work around the wheel until you reach the valve.
Before adding full pressure, inspect both sides of the tire. Make sure no part of the inner tube is trapped between the tire bead and the rim.
A trapped tube can create another flat as soon as you inflate the tire. Taking a few extra seconds to inspect the bead can save you from repeating the repair.
Step 6: Inflate and Reinstall the Wheel
Inflate the tire gradually and watch the bead as it seats around the rim. The molded line near the tire bead should sit evenly around the wheel.
Use the pressure range printed on the tire sidewall as a starting reference, while also following the pressure guidance appropriate for your tire and riding setup.
Once the tire is properly inflated, reinstall the wheel in the frame. Reconnect the brake if you released it earlier.
Spin the wheel and check that it runs straight without rubbing the brake, frame, or fork. A quick check now is much better than discovering a problem once you’re moving.
Tips to Stop the Next Flat Before It Happens
- Check tire pressure before every ride. Low pressure increases the risk of pinch flats.
- Inspect your tires regularly. Look for embedded glass, thorns, cuts, and excessive tread wear.
- Check your rim tape. Damaged or incorrectly positioned rim tape can cause repeated punctures.
- Consider tubeless tires. Sealant can automatically seal many small punctures.
- Carry a basic flat-repair kit. A spare tube, tire levers, and an inflation method can turn a major problem into a short roadside repair.
Regular bike maintenance can also help you catch problems before they become roadside failures. See our
bike maintenance guide
for more routine maintenance tips.
Keeping your drivetrain clean is another useful part of that routine. See our guide on
how to clean and lubricate your bike chain properly.
Watch How to Fix a Flat Bike Tire
If you would rather see the process before trying it yourself, this video demonstrates the tire-lever and inner-tube replacement technique covered in this guide. Seeing the process can make it easier to fix a flat bike tire confidently for the first time.
Frequently Asked Questions
How long does it take to fix a flat bike tire?
With practice, many riders can fix a flat bike tire in about 5–10 minutes. Beginners should allow 15–20 minutes while learning how to remove the tire and reinstall the tube correctly.
Can I ride after patching a bike inner tube?
Yes. A properly installed patch can be used for normal riding when the puncture is suitable for repair and the patch has bonded correctly. Large tears or damage near the valve generally require a replacement tube.
Why does my bike tire keep going flat in the same spot?
Repeated flats usually mean the original problem has not been found. Check the inside of the tire for debris, inspect the rim tape, and make sure the tire is being inflated to an appropriate pressure.
Do I need special tools for tubeless tires?
Tubeless tires can seal many small punctures with sealant. For larger cuts, a tubeless plug kit can be useful. Tubeless repairs are different from traditional tube-based repairs.
What should I carry in a bike flat tire kit?
A practical kit should include tire levers, a compatible spare tube, and a reliable way to inflate the tire. A patch kit is also useful as a backup, especially if you ride long distances.
Final Takeaway
Knowing how to fix a flat bike tire is one of the most valuable skills a cyclist can have. The repair is straightforward once you understand the sequence and carry the right tools.
The key is not just replacing the tube. Always look for the reason the tube failed, check the inside of the tire, inspect the rim tape, and make sure the new tube is not trapped under the tire bead.
Practice the repair at home before you need to do it on the side of the road. The first attempt may take longer, but after a few repairs, changing a tube becomes a normal part of cycling.
For another detailed explanation of flat-tire repair and wheel removal, see
REI’s flat tire repair guide.
v
