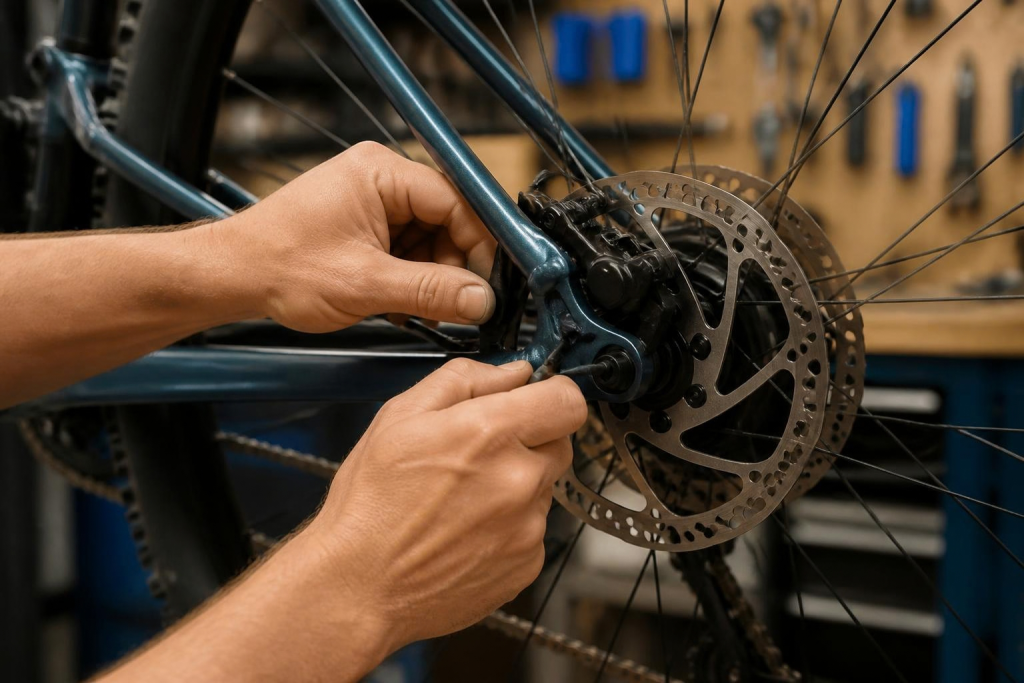
Adjusting bike brakes is also one of the most practical skills a cyclist can learn. A properly set-up brake stops more predictably, wears pads more evenly, and gives you confidence on wet commutes and long descents. If you’re planning bigger upgrades alongside your braking setup, take a look at our guide on road bike build vs high-end groupset.
One catch: the right adjustment depends on your brake type. Rim brakes, mechanical disc brakes, and hydraulic disc brakes each work differently, so start by identifying what’s on your bike. Not sure what you have? Our guide to the types of bike brakes shows how to tell them apart at a glance.
Quick Answer
When adjusting bike brakes, inspect the pads, check the lever feel, fine-tune cable tension with the barrel adjuster, center the caliper or pads, and confirm the rotor or rim runs clear. Hydraulic brakes that feel spongy usually need bleeding, not adjusting.
In This Guide
- Why Your Bike Brakes Feel Weak
- What You’ll Need
- Step 1: Check the Brake Pads
- Step 2: Check the Brake Lever Feel
- Step 3: Use the Barrel Adjuster
- Step 4: Center Rim Brake Pads
- Step 5: Align the Brake Pads
- Step 6: Adjust Mechanical Disc Brakes
- Step 7: Center the Disc Brake Caliper
- What About Hydraulic Disc Brakes?
- How to Tell If It Worked
- Practical Tips for Adjusting Bike Brakes
- Common Mistakes When Adjusting Bike Brakes
- When to Visit a Bike Shop
- FAQ
Related BikeRushHub Guide
Having trouble with another part of your bike’s drivetrain while maintaining your brakes?
Check out our bike chain cleaning and lubrication guide
for more practical repair tips.
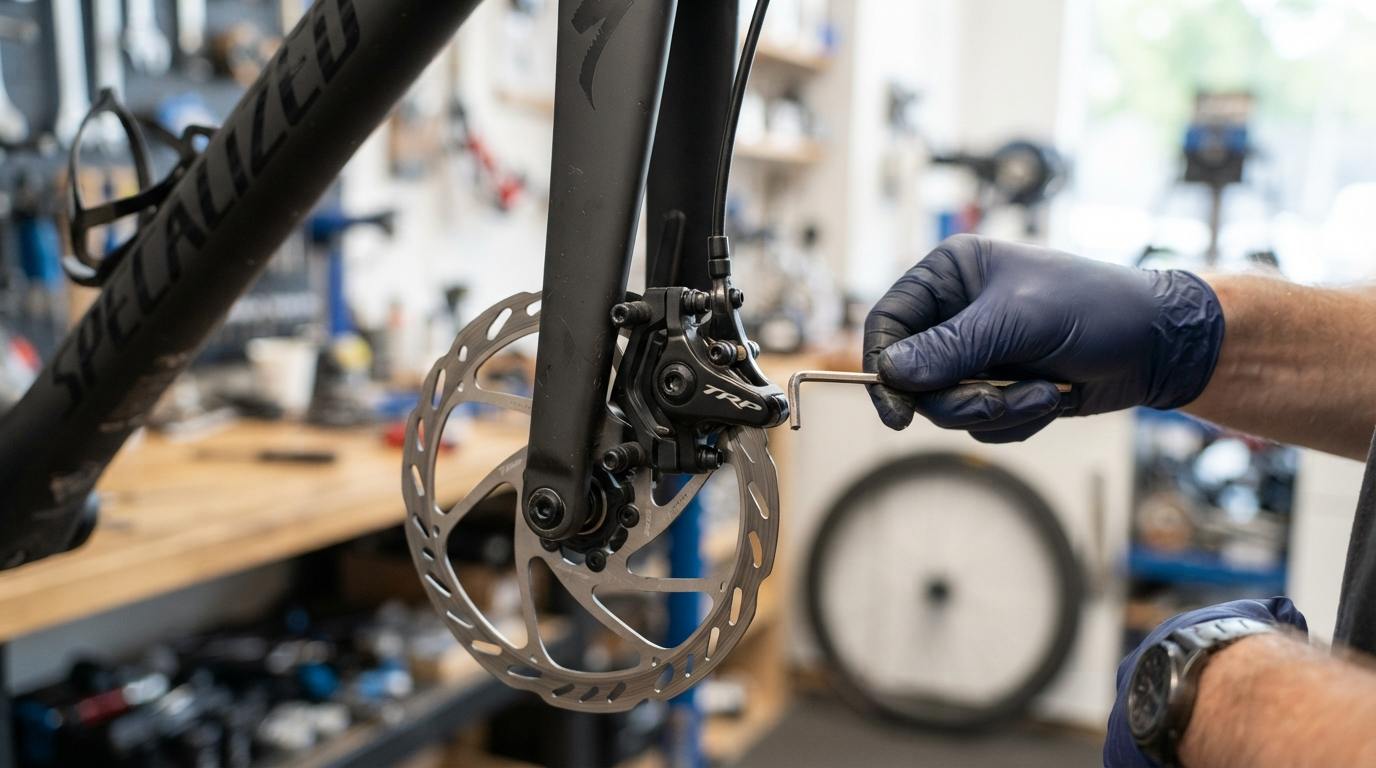
Why Your Bike Brakes Feel Weak (and When to Adjust Them)
Before you touch a single screw, work out what’s actually wrong. Ever spent an hour tweaking a brake, only to discover the pads were worn down to the metal? It happens more than you’d think.
A brake that doesn’t feel right can trace back to any of these:
- Too much slack in the brake cable
- Worn brake pads
- Pads that aren’t properly aligned
- A caliper that isn’t centered
- A rotor that’s rubbing or slightly bent
- Damaged brake housing or cable
- A contaminated rim braking surface
- Hydraulic components that need service
- Too much lever travel
Here’s the thing: adjustment can’t fix a worn-out or damaged part. If the pads are nearly gone, the cable is frayed, or the rotor is badly bent, no amount of tweaking will bring the brake back.
Tools You Need to Adjust Bike Brakes
The toolkit is short, and the exact list depends on your brake system.
- 4mm, 5mm, or 6mm hex keys
- Torx key for some disc brake components
- Small screwdriver
- Clean rag
- Flashlight, so you can see pad and rotor gaps clearly
- Bike repair stand, if you have one
- Torque wrench for final tightening
Working on hydraulic disc brakes? Don’t loosen hoses or open the system unless you know exactly what you’re doing. Hydraulic brakes can require bleeding and manufacturer-specific procedures. While you’re setting up your workspace, make sure your tires are properly inflated too. Our West Biking 160psi stainless steel pump review covers a reliable option.
Step 1: Check the Brake Pads Before Adjusting
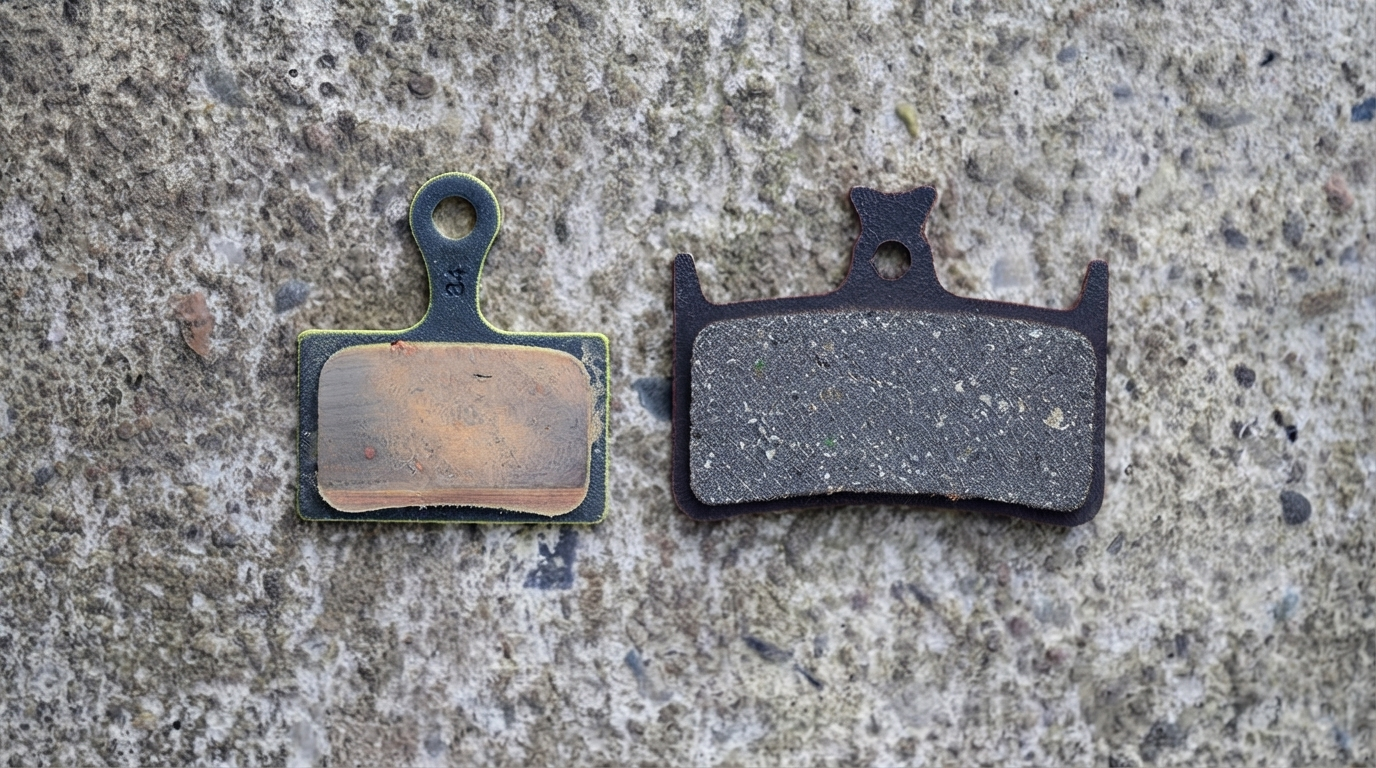
Before adjusting bike brakes of any type, start by inspecting the brake pads.
On rim brakes, look at where the rubber meets the rim. The pad should land squarely on the braking surface, not the tire, and it shouldn’t be angled sharply up or down.
On disc brakes, look through the caliper and check how much friction material is left on each pad.
Worn pads can make a brake feel poor even when everything else is dialed in. If the pad material is very thin, replace the pads (check the wear limit in your manufacturer’s documentation) rather than compensating with extra cable tension.
Then check for contamination. Oil, grease, or chain lube on a pad or rotor can seriously cut braking power, and it’s a common problem after a messy drivetrain cleaning.
Step 2: Check the Brake Lever Feel
When checking how to adjust bike brakes, squeeze the lever a few times and notice where the brake starts to bite.
If the lever travels almost to the handlebar before anything happens, you’re dealing with too much travel or a deeper issue. What you want is a firm, controlled feel with enough movement left to modulate the brake comfortably.
And if the lever suddenly feels soft, spongy, or just different from yesterday? Don’t start adjusting bike brakes just yet. That points to a cable, hydraulic, or mechanical problem that needs a proper inspection.
Step 3: How to Adjust Bike Brakes With a Barrel Adjuster
If your bike has cable-operated rim brakes or mechanical disc brakes, look for a small threaded barrel adjuster near the lever or caliper. It is usually the easiest first step when learning how to adjust bike brakes.
Brake feels loose and the pads engage late? Turn the barrel adjuster outward to take up cable slack. Work in small steps, roughly a quarter turn at a time, and squeeze the lever after each one. If the brake gets too tight or starts to rub, turn it back in slightly.
Once you run out of adjuster thread, the cable tension needs resetting at the pinch bolt instead.
For a deeper walkthrough, see Park Tool’s Mechanical Disc Brake Alignment guide.
Step 4: Center Rim Brake Pads
On traditional rim brakes, look at the gap between each pad and the rim. It should be even on both sides. If one pad sits much closer than the other, the brake needs centering.
Many rim brake calipers have a small centering screw that changes spring tension and nudges the arms slightly. Turn it in tiny increments and squeeze the lever after every change.
Centering is a core part of adjusting bike brakes on rim setups. You’re aiming for two results: both pads sit at roughly the same distance from the rim, and neither one drags when the lever is released.
Step 5: Align the Brake Pads Correctly
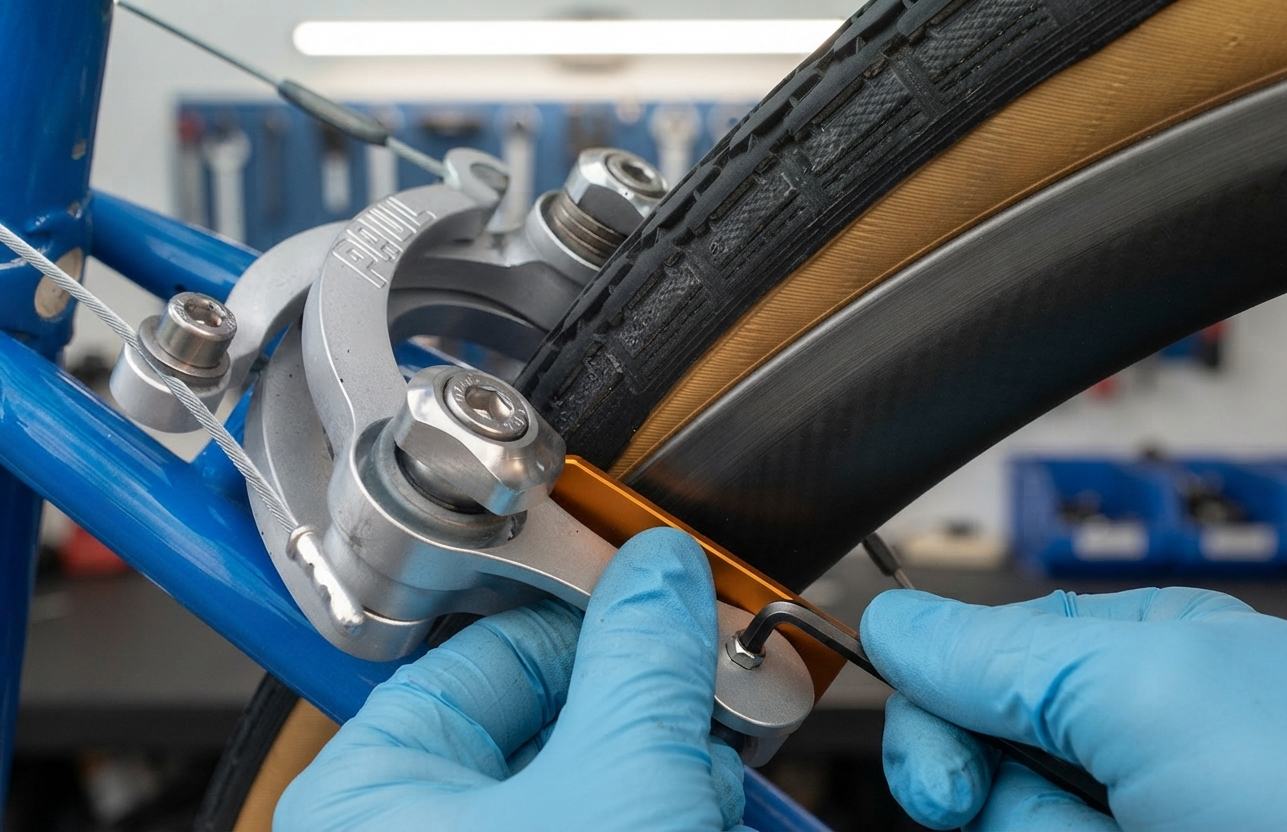
A pad that’s a few millimeters off can squeal, wear unevenly, or rub the tire, so alignment deserves real attention when adjusting bike brakes.
On rim brakes, the pad should sit fully on the rim’s braking surface and stay clear of the tire sidewall.
Some rim brake setups use a small amount of toe-in, where the leading edge of the pad touches the rim slightly before the trailing edge. On certain brake designs, that helps quiet squealing. Since the right setup depends on the brake design, follow the manufacturer’s instructions when you have them.
You May Also Like
Step 6: How to Adjust Mechanical Disc Brakes
Mechanical disc brakes use a cable to move the mechanism, but the pads clamp a rotor instead of the rim. Adjusting bike brakes of this type means working with pad clearance and rotor position instead of rim contact.
First, make sure the wheel is properly seated in the frame or fork. Then spin it and look through the caliper. If the rotor wobbles noticeably from side to side, it may be bent or damaged, and that’s a separate problem from simple brake adjustment.
If the rotor looks reasonably straight, check pad clearance. Many mechanical disc brakes have an adjuster that moves the pad closer to or farther from the rotor.
The goal is a balance: enough clearance that the rotor runs free, but still strong braking the moment you pull the lever.
Watch: How to Align a Mechanical Disc Brake
This Park Tool tutorial covers mechanical disc brake alignment, including caliper positioning, pad adjustment, and final checks.
Step 7: Center the Mechanical Disc Brake Caliper
Rotor straight but the brake still rubs? The caliper probably isn’t centered over the rotor.
Most mechanical disc calipers mount with bolts that allow a little side-to-side movement. Loosen the mounting bolts just enough for the caliper to shift, line it up over the rotor, then tighten the bolts to the manufacturer’s specification. If a torque value is published, use it. Guessing is how bolts get stripped or left too loose.
After tightening, spin the wheel again and recheck the rotor clearance. This is the step riders most often skip when adjusting bike brakes with disc rotors.
How to Adjust Hydraulic Disc Brakes Safely
Hydraulic disc brakes play by different rules (our comparison of the types of bike brakes explains why). There’s no cable to tighten, so the barrel-adjuster method doesn’t apply.
If a hydraulic brake feels weak or the lever goes soft, the cause could be air in the system, worn pads, contamination, piston movement, or something else that goes beyond basic adjustment.
Some hydraulic systems let you change lever reach or free stroke. Those settings change where the lever sits and how it feels, but they can’t repair a system that has lost pressure.
Shimano’s official documentation lists manufacturer-specific procedures for lever reach and free-stroke adjustment.
View Shimano’s official brake adjustment documentation
Watch: How to Align a Hydraulic Disc Brake
How to Tell If Your Brake Adjustment Worked
After learning how to adjust bike brakes, do not head straight for a busy road or a steep trail. Run a stationary check first:
- Does the lever feel firm?
- Does the brake engage consistently?
- Is the lever still too close to the handlebar?
- Does the wheel spin freely when the brake is released?
- Are the pads touching the correct braking surface?
- Do you hear any scraping or grinding?
- Does the caliper look properly aligned?
If everything checks out, roll to a safe, low-speed area and test the brake gradually. A good pair of gloves helps here, and our Rockbros cycling gloves review covers a budget-friendly option for better grip and hand comfort.
Squeeze the brake several times at low speed before you rely on it for a normal ride.
Practical Tips for Adjusting Bike Brakes
Good bike brake adjustment should hold up in real riding conditions, not just on the repair stand. These habits help it stay that way:
- Recheck after the first few rides. New cables stretch and pads bed in, so a brake that felt perfect on day one can loosen slightly. A quarter turn on the barrel adjuster usually takes care of it.
- Expect different feel in the wet. Rim brakes lose bite when the rim is wet, so leave extra stopping distance on rainy commutes. Squeal or lag in wet weather is a good moment to recheck pad alignment and contamination.
- Test on a slope, not just a flat. Hills expose weak brakes fast. Try a controlled stop on a gentle downhill before you trust the setup on a long descent.
- Keep lube away from brakes. When you lubricate your chain, shield the rotor or rim with a rag. Overspray is one of the most common causes of sudden weak braking.
- Clean before you replace. A rim or rotor with light dirt on it can often be wiped clean with a rag and isopropyl alcohol. Pads soaked in oil, however, are usually better replaced than saved.
- Save money where it makes sense. A rubbing brake often needs a two-minute caliper centering, not new parts. But if a rotor is badly bent or pads are nearly gone, replacing them is cheaper than the risk of riding on them.
Common Mistakes When Adjusting Bike Brakes
Tightening Everything as Much as Possible
More tension doesn’t mean more stopping power. Over-tightening a cable causes brake rub and leaves you almost no usable lever movement.
Ignoring Worn Pads
Adjustment can’t create braking material that’s already gone. If the pads are worn out, replace them.
Adjusting Only One Side of a Disc Brake
Some disc brake systems need balanced pad clearance on both sides. Follow the procedure for your specific brake model instead of assuming every caliper works the same way.
Making Huge Adjustments
Turning a screw several rotations and then trying to work out what changed is a recipe for confusion. Change one thing slightly, test it, and repeat.
Skipping the Final Test
A brake that looks perfect in the repair stand still needs a controlled test before you trust it.
Getting Ready for Your Next Ride?
Before heading out to your next event, make sure your bike is properly checked and ready to go. You can also track your training metrics accurately with recommendations from our Garmin Edge 1050 GPS cycling computer review.
When You Should Visit a Bike Shop
Adjusting bike brakes at home is a useful skill, but some situations call for a professional.
- The brake lever pulls all the way to the handlebar.
- A hydraulic brake feels spongy.
- The brake loses pressure.
- The rotor is badly bent.
- A brake mount looks damaged.
- The cable is badly frayed.
- The pads are contaminated and braking is still poor.
- You hear grinding or unusual mechanical noises.
- You aren’t confident the brake is safe after adjustment.
Brakes are not the place to experiment. If something still feels off after you adjust bike brakes, do not ride in traffic or on steep terrain until the cause is identified.
Final Thoughts: How to Adjust Bike Brakes Safely
Knowing how to adjust bike brakes is a small skill with a big payoff. A few minutes spent checking pad wear, cable tension, alignment, and clearance can make a brake system feel dramatically better, and it can help you catch problems before they turn expensive or dangerous.
Don’t chase the tightest possible setup. What you want is smooth lever movement, reliable engagement, well-aligned pads, and enough clearance that nothing rubs when you’re not braking.
Remember that each brake type needs its own approach. A cable-operated rim brake isn’t adjusted like a mechanical disc brake, and neither should be treated like a hydraulic system. Make small changes, test carefully, and if you can’t confidently diagnose a problem, hand it to a qualified mechanic.
Your brakes are one part of the bike where “good enough” really isn’t good enough.
Frequently Asked Questions About Adjusting Bike Brakes
How often should I be adjusting bike brakes?
There’s no schedule that fits every bike. Check your brakes whenever the lever feel changes, the pads wear down, the brakes start rubbing, or stopping power drops. It’s also smart to check them after a wet or muddy ride.
Why are my bike brakes rubbing?
Brake rub usually comes from incorrect pad clearance, a misaligned caliper, a wheel that isn’t seated correctly, or a rotor with side-to-side movement. Find the cause first, then adjust.
Can I adjust hydraulic disc brakes myself?
Basic external adjustments, like lever reach, are often possible depending on the brake system. Problems such as air in the system or lost pressure may require bleeding or professional service.
Will adjusting my brakes make them more powerful?
Proper adjustment can improve brake feel, pad contact, and control. But if the pads, rotor, cable, or hydraulic system has a problem, adjustment alone may not restore braking performance.
