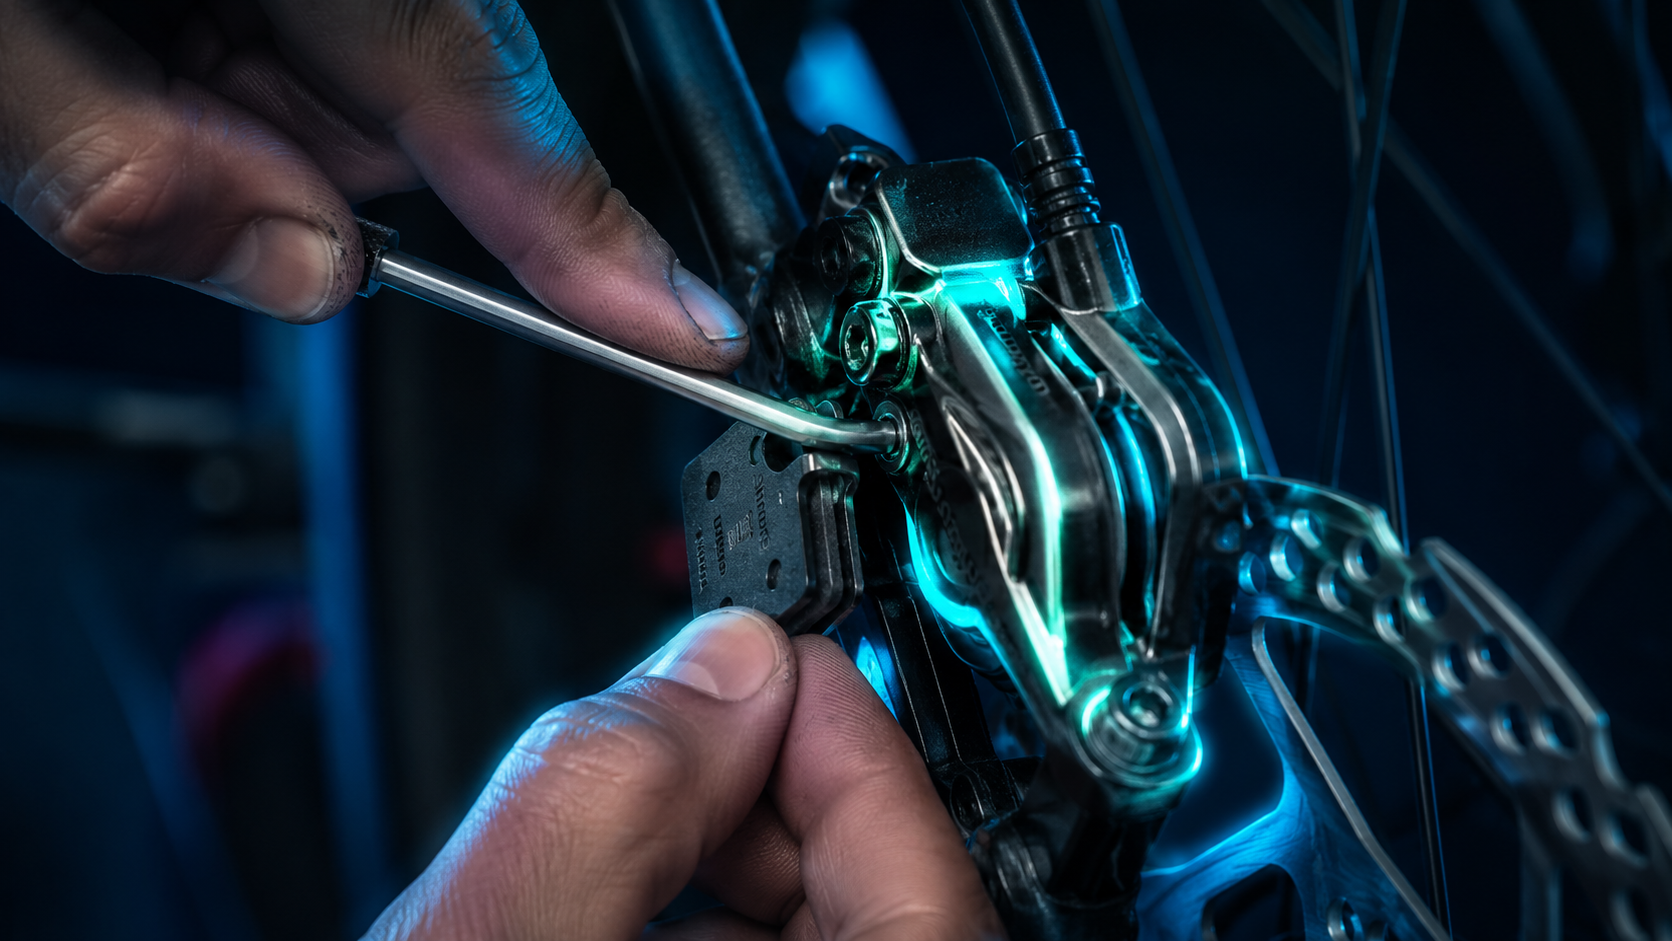
Here’s a sound you don’t want to hear: that dry, grinding scrape every time you squeeze the lever. Or worse, the mushy, delayed stop that makes you pull the lever a little earlier than you used to. Both are your bike telling you it’s time to replace bicycle brake pads.
Good news: learning how to replace bicycle brake pads is one of the easiest maintenance jobs on a bike, and you don’t need a shop appointment or a wall of tools to get it right. Whether you’re running old-school rim brakes or modern disc brakes, this guide walks you through the whole thing, plain and simple, so you’re back on the road in under an hour.
What’s in this guide
Signs Your Brake Pads Are Actually Worn Out
Before you learn how to replace bicycle brake pads, make sure the pads are really the problem. A few things point straight at worn pads:
- The wear line is gone. Rim pads have small grooves cut into the rubber. Once those grooves are flat, you’re on borrowed time.
- Squealing that won’t quit. A little noise in the wet is normal. A constant high-pitched squeal in dry weather usually means the pad is glazed or nearly gone.
- The lever feels different. If you’re pulling the lever closer and closer to the bar to get the same stopping power, the pad material has thinned out.
- You can see metal. On disc brakes, if the friction material is worn down close to the metal backing plate, stop riding and replace them immediately — riding on metal-to-metal contact scores your rotor and turns a $15 pad job into a $50+ rotor job.
Quick check: a good rule of thumb is to look at your pads every couple of weeks and replace disc pads once the friction material is down to about the thickness of a nickel-and-dime stacked together, roughly 1.5 mm. Rim pads are done once the wear groove disappears. Either way, once you know how to replace bicycle brake pads, this check takes seconds.
Once you spot any of these signs, it’s time to replace your bicycle brake pads before your next ride. While you’re at it, it’s worth checking your drivetrain too — a dirty chain puts extra strain on your whole braking and shifting system, so pair this job with our chain waxing guide if it’s been a while.
Tools and Pads You’ll Need
Nothing fancy here. Before you learn how to replace bicycle brake pads step by step, gather these — most of it is probably already in your garage.
- A set of Allen (hex) keys — 2, 4, and 5 mm cover almost everything
- Needle-nose pliers
- A flathead screwdriver or a dedicated piston-press tool (for disc brakes)
- Isopropyl alcohol or a brake-specific cleaner — never use chain lube or citrus degreaser near a rotor
- New pads matched to your exact caliper or brake type
One thing worth repeating: pads are not one-size-fits-all. A Shimano disc caliper doesn’t take the same pad as a SRAM one, and rim brake pads come in two very different styles — cartridge inserts (common on road bikes) and post-mounted pads (common on older bikes, V-brakes, and BMX). Match the pad to your setup before you order — Park Tool’s disc brake pad guide is a solid reference if you’re not sure which one your bike takes. Get the right pad in hand and you’re only minutes away from being able to replace bicycle brake pads at home, no shop visit required. A decent pair of work-friendly cycling gloves also isn’t a bad idea here — they keep your hands clean and give you a better grip on small parts.
Replacing Rim Brake Pads
If you’ve got calipers that squeeze the wheel rim itself (not a rotor), here’s how to replace bicycle brake pads on your setup.
Step 1: Open the brake
Most road calipers have a small release lever right on the caliper arm — flip it and the arms swing open. On V-brakes, squeeze the arms together with one hand and pop the cable noodle out of its slot with the other. This gives you room to work and get the wheel out if needed.
Step 2: Pull the old pad
Cartridge-style pads slide out the back once you loosen the small retaining screw with a small hex key. Post-style pads come off when you undo the nut holding the whole assembly to the brake arm — just remember the order of any little curved washers, since those control the pad angle.
Step 3: Set the new pad with a slight angle (toe-in)
This step gets skipped a lot, and it’s the reason so many rim brakes squeal. You want the front edge of the pad to touch the rim just a hair before the back edge — about the thickness of a business card’s worth of angle. An easy trick: slide a folded index card between the back of the pad and the rim while you tighten it down, then pull the card out.
Step 4: Check the height
Squeeze the lever and look at where the pad lands on the rim. It should sit fully on the braking surface — not so high that it touches your tire (that’s a real safety issue) and not so low that it hangs off the bottom edge.
Step 5: Re-tension and test
Close the release lever or clip the noodle back in. Spin the wheel — it should turn freely with just a whisper of clearance on both sides. Squeeze the lever; it should feel firm around the halfway point of its travel. If it’s soft or comes close to the bar, there’s a barrel adjuster on most calipers or levers that lets you dial in more tension without touching the cable.
Rim pads don’t need a fancy break-in period. Just do a handful of firm stops on your first ride to seat them against a clean rim — and give the braking surface a quick wipe with alcohol first if you’ve ridden in the rain recently.
Replacing Disc Brake Pads
Disc brakes look more intimidating, but the process to replace bicycle brake pads on a disc setup is honestly simpler once you’ve done it once. Works the same whether you’re on hydraulic or mechanical (cable) discs — the only real difference is that mechanical calipers need a small manual adjustment afterward.
Step 1: Pull the wheel, check the rotor
Take the wheel out and give the rotor a wipe-down with a proper disc brake cleaner. While it’s off, glance at the rotor thickness — most rotors have a minimum thickness stamped right on them. A worn-out rotor is a separate fix; don’t put fresh pads against a rotor that’s past its limit.
Step 2: Push the pistons back
With the old pads still sitting in the caliper, gently wedge a flat tool between them and press the pistons back into their bores. This makes room for the new, thicker pads. Go slow and even — never jam a sharp tool straight against the piston, since that can nick the seal.
Step 3: Pull the retaining pin
There’s a small pin (sometimes with a tiny R-shaped safety clip) running through the top of the caliper holding the pads in. Straighten and remove the clip with your pliers, slide the pin out, and lift the old pads free. There’s usually a little spring wedged between them — note which way it’s facing so you can put it back the same way.
Step 4: Drop in the new pads
Slot the new pads in around that spring, exactly how the old ones sat. One important habit: handle the pads only by the metal backing, never the friction surface. The oil from your fingers is enough to cause permanent squealing.
Step 5: Reinstall the pin, wheel, and test
Slide the retaining pin back through, snap the clip in place, and refit the wheel. Pump the brake lever several times to bring the pistons forward against the new pads — this is normal and expected, the lever will feel loose until you do this. Spin the wheel and listen: a light, even hum is fine, but a scrape once per rotation usually means the caliper needs to be re-centered (loosen the two caliper mounting bolts, squeeze the lever to let it self-align, then re-tighten).
Heads up: if the lever feels spongy even after several pumps, that’s usually air in the hydraulic line, not a pad problem. That calls for a full bleed, which is a different job entirely.
Which Pad Material Should You Buy?
Once you know how to replace bicycle brake pads, picking the right compound matters just as much as the swap itself. Disc pads come in three flavors, and there’s no single “best” — it depends on how and where you ride.
| Type | Feel | Best for | Downside |
|---|---|---|---|
| Organic (resin) | Strong bite right away, quiet | Road, commuting, dry conditions | Wears faster, fades on long descents |
| Semi-metallic | Balanced | Gravel, mixed conditions | Jack-of-all-trades, master of none |
| Sintered (metallic) | Needs heat to grab, then very strong | Mountain biking, wet weather, long descents | Noisier, harsher feel when cold |
If you’re commuting on dry pavement and want quiet, confident stops, go organic. If you’re bombing down trails in the rain, sintered pads will save your hands and your nerves. And whatever you pick, run the same type on the front and rear — mixing compounds gives you two brakes that behave completely differently.
Breaking In New Pads the Right Way
Now that you know how to replace bicycle brake pads on both rim and disc setups, there’s one last step for disc brakes: bedding them in. Brand-new disc pads are surprisingly weak out of the box. That’s normal — they need to transfer a thin, even layer of material onto the rotor before they hit full power. Skip this step and you’ll deal with squealing and a spot where the brake seems to pulse.
- Find a flat, quiet stretch of road or an empty parking lot.
- Do about 15-20 controlled stops from a moderate speed, slowing down without ever coming to a complete stop.
- Follow with 4-5 firmer stops from a bit more speed, again rolling out instead of locking up.
- Avoid stopping completely while the rotor is hot — that leaves an uneven mark that causes pulsing later.
Rim brake pads are much more forgiving — a handful of normal stops on your first ride is enough to seat them.
Mistakes That Ruin a Good Pad Swap
Even when you know how to replace bicycle brake pads step by step, these small slip-ups are what cause squealing, weak braking, or a repeat trip back to the garage:
- Touching the pad face with bare hands. Skin oil contaminates the surface instantly.
- Spraying chain lube anywhere near the rotor. Even a light mist will cause squealing that’s hard to fully fix.
- Skipping toe-in on rim brakes. This alone causes most of the squeal complaints out there.
- Mixing pad compounds front and rear. Keep it consistent.
- Cranking the retaining pin too tight. It’s a small fastener — snug is enough, don’t force it.
- Rushing the bed-in. The ten extra minutes now saves you a return trip to the garage later.
Watch It Done (Video Walkthrough)
If you’d rather watch someone replace bicycle brake pads before picking up a wrench yourself, this video walks through the whole process step by step:
Recommended Pads & Cleaners
Once you’re ready to replace bicycle brake pads, here are a few reliable picks to get the job done right. Swap the links below for your own Amazon and eBay affiliate URLs.
Shimano Disc Brake Pads (Resin/Metal)
OEM pads for Shimano calipers — quiet resin or long-lasting sintered options.
Kool-Stop Salmon Rim Brake Pads
A classic wet-weather upgrade for cartridge or post-style rim brakes.
Frequently Asked Questions
How often should I replace bicycle brake pads?
Most riders get somewhere between 500 and 1,500 miles per set, depending on terrain, weather, and how hard you brake. Check them every month or so rather than relying on mileage alone.
Are bicycle brake pads universal?
No. Rim pads need to match your caliper style, and disc pads need to match your exact caliper model. Always check the part number before buying.
Do I need to bed in new brake pads?
Yes, especially disc pads. Skipping it means weaker braking and squealing until the pad eventually beds in on its own.
Why are my new brake pads squeaking?
Almost always contamination, missing toe-in on rim brakes, or pads that haven’t been bedded in yet. Clean the braking surface before assuming the pads are bad.
Can I replace brake pads myself without a bike shop?
Yes — once you know how to replace bicycle brake pads, it’s one of the simplest home repairs on a bike, usually done in 30-45 minutes with basic hand tools. Save the shop trip for stuck pistons or a full hydraulic bleed.
Bottom Line
Brake pads are cheap and easy to swap, and now that you know how to replace bicycle brake pads on both rim and disc setups, it’s less than an hour of work — the difference between a bike that stops when you need it to and one that just slows down eventually. Check them regularly and always bed in a fresh set of disc pads.
Also worth bookmarking: our flat tire guide for the next roadside surprise, and a saddle bag setup to keep your hex keys within reach.
