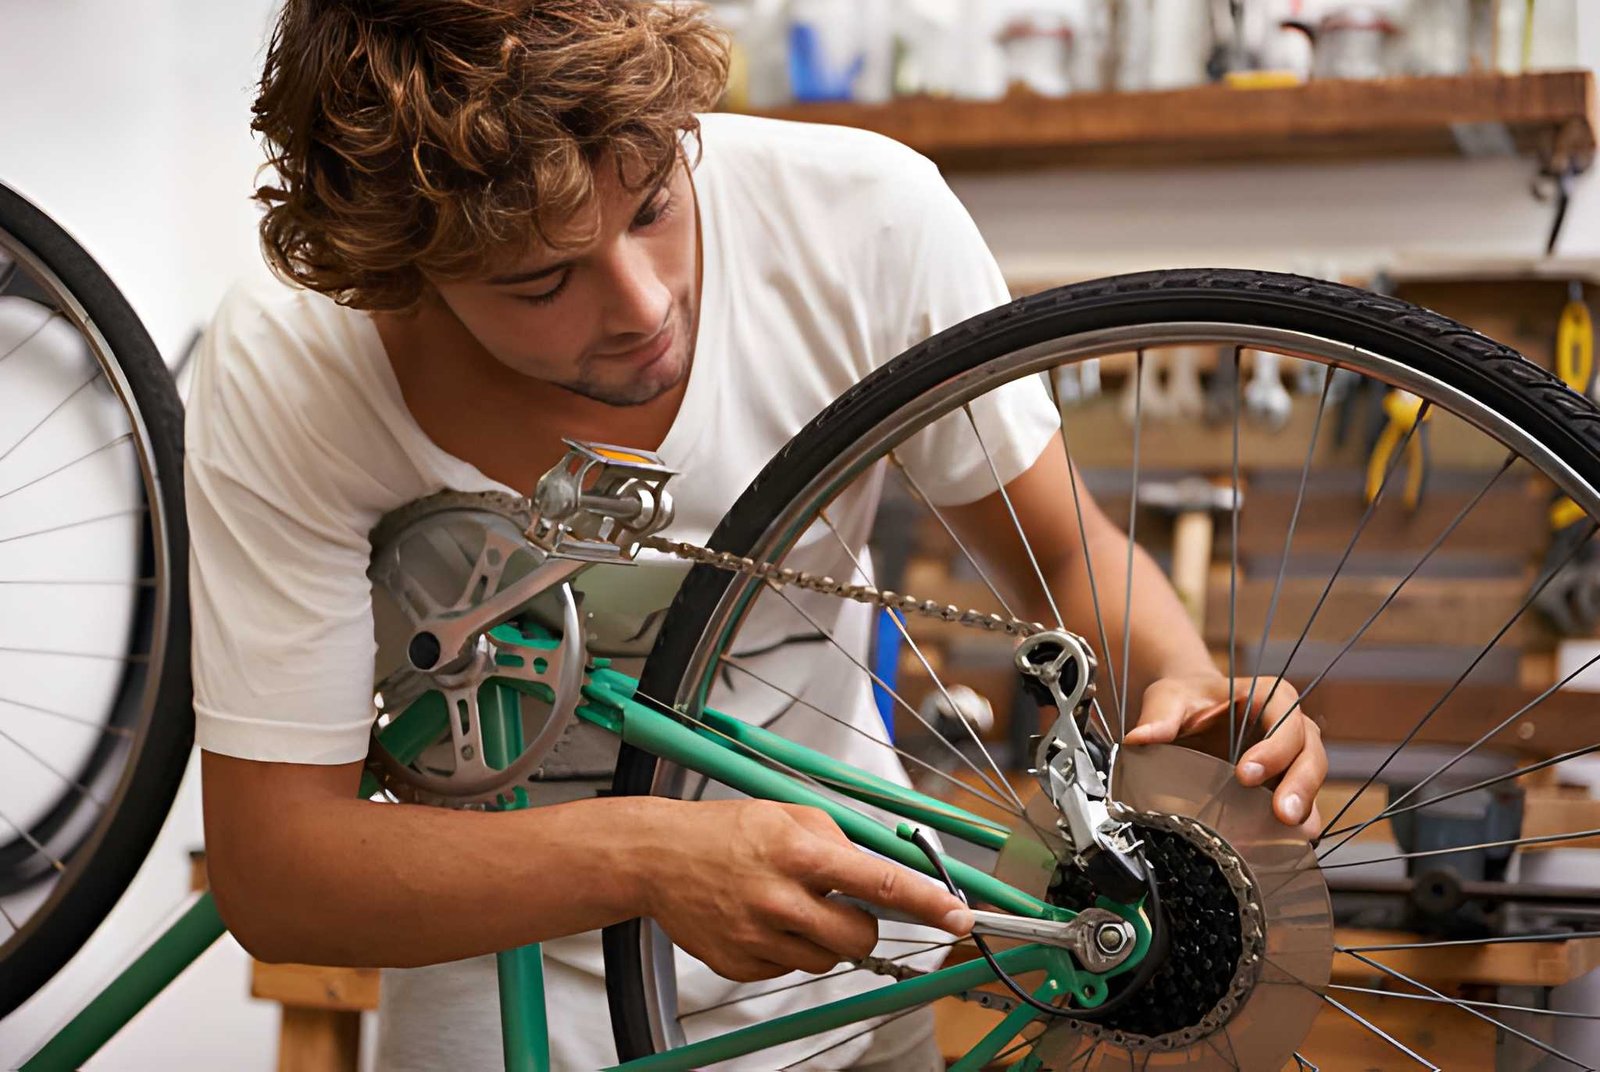
How to Wax a Bike Chain: Step-by-Step Guide
Learning how to wax a bike chain can help keep your drivetrain cleaner and make routine maintenance less messy. Hot-melt wax leaves a dry lubricant coating rather than the oily surface that can hold road grit.
Hot waxing takes more preparation than applying drip lube, especially the first time, because the chain must be thoroughly cleaned before wax can work properly. Once the chain is prepared, repeat maintenance can be straightforward. The right interval depends on the wax product, weather, terrain, and riding style, so treat mileage estimates as a guide rather than a guarantee.
Quick Answer
To hot-wax a bike chain, remove it, strip away factory grease or old lubricant, let it dry completely, immerse it in bicycle-specific melted chain wax according to the product instructions, then let it cool before reinstalling. Clean preparation is the most important step: leftover oil can prevent the wax from adhering effectively.
On This Page
Why More Cyclists Wax Their Chains
Wet lubricant leaves an oily film that can be useful in wet conditions but may also hold onto dust and grit. Dry lubes tend to leave a less oily surface, although performance varies by formula. Hot-melt wax creates a dry coating on the chain’s internal contact surfaces.
Riders often choose wax because it helps keep the drivetrain cleaner, reduces greasy residue on hands and clothing, and can limit the amount of abrasive dirt carried into the chain. A clean, correctly lubricated drivetrain can also run quietly. Wax is not maintenance-free, however, and wet or muddy conditions can shorten the useful interval.
Cleaner components
A dry surface tends to collect less sticky grime than an oily chain.
Less greasy mess
Handling a cooled, waxed chain is generally less messy.
Planned maintenance
A spare chain can make swapping and batch waxing convenient.
If hot waxing seems too involved, read our guide on how to clean and lubricate a bike chain for a more general maintenance routine.
What You’ll Need
- Bicycle-specific hot-melt chain wax
- A dedicated wax pot or slow cooker that will never be used for food
- A suitable degreaser and clean containers
- A chain hook, old spoke, or wax-kit hanger
- Nitrile gloves and eye protection
- A clean, lint-free cloth
- Compatible quick link and quick-link pliers, if needed
- A bike repair stand, if available
Recommended Supplies
These are affiliate links. BikeRushHub may earn a commission if you buy through them, at no extra cost to you.
How to Wax a Bike Chain Step by Step
Work in a well-ventilated area, protect the surface, and keep hot wax away from children, pets, and anything flammable. The exact cleaning method, heating temperature, and immersion time depend on the product. Follow its label instead of assuming one setting works for every wax.
1Remove the Chain
Shift the drivetrain to make removal easier, then open the quick link with the appropriate tool. If the link is single-use, fit a compatible new one during installation. Inspect the chain for damaged links or excessive wear before continuing.
2Remove Factory Grease and Old Lubricant
A new chain may have protective factory lubricant; a used chain may contain oil and dirt. Clean it using a suitable degreaser and the process recommended by your wax manufacturer. More than one cleaning cycle may be needed. Replace contaminated solvent as directed, and let the chain dry completely. Residual cleaner, water, or oil can interfere with the wax coating.
3Melt the Chain Wax
Place the bicycle-specific wax in a dedicated wax pot and heat it according to the manufacturer’s instructions. Do not use an open flame, overheat the wax, or reuse the pot and utensils for food. Keep the area ventilated and avoid splashing hot wax.
4Immerse and Move the Chain
Use a hook or hanger to lower the fully dry chain into the melted wax. Ensure it is submerged, then gently agitate it as instructed so wax can reach the rollers and pins. Follow the product’s recommended immersion time.
5Remove and Cool the Chain
Lift the chain carefully and let excess wax drip back into the pot. Hang it somewhere stable, away from skin and other surfaces while hot. Let it cool and harden completely before handling. A little surface flaking as the links begin moving is normal.
6Flex the Links and Reinstall
After cooling, gently flex the links until the chain moves freely. Reinstall it in the correct direction if it is directional, fit a compatible quick link, and confirm the link is fully engaged. Rotate the cranks by hand and check shifting before riding. If a link remains stiff or anything feels wrong, inspect it before riding.
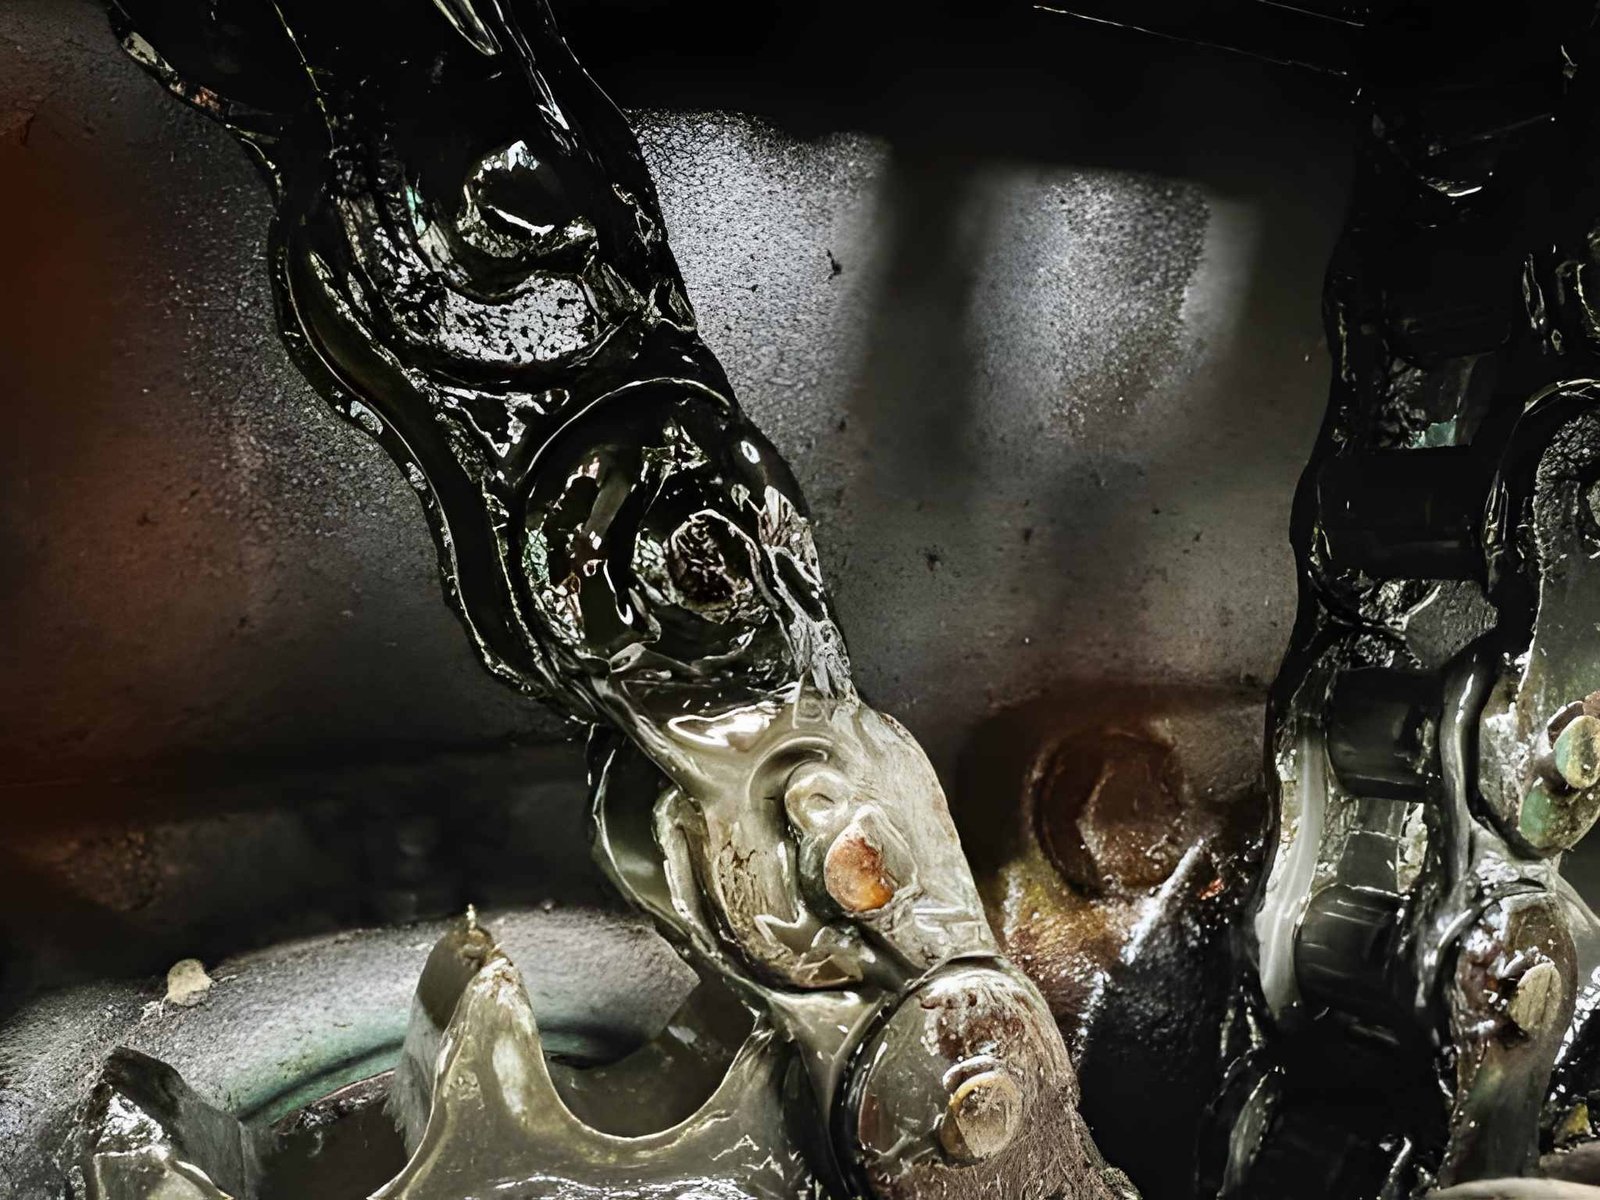
Hot Wax vs. Wet Lube vs. Dry Lube
Each method has trade-offs. Choose based on weather, how often you ride, and how much maintenance you want to do.
| Feature | Hot-Melt Wax | Wet Lube | Dry Lube |
|---|---|---|---|
| Surface | Dry after cooling | Usually oily or tacky | Varies by formula |
| Dirt buildup | Often low in dry conditions | Can collect grit | Often low to moderate in dry conditions |
| Initial setup | More involved | Simple application | Simple application; may need drying time |
| Wet weather | May need prompt inspection and re-waxing | Often useful in wet conditions | May need more frequent application |
| Best fit | Riders willing to plan maintenance | Riders prioritizing easy wet-weather lubrication | Riders seeking a simple dry-weather option |
These are general tendencies, not guarantees. Product formulas differ, so follow the lubricant maker’s recommendations.
How Often Should You Re-Wax a Bike Chain?
There is no single mileage interval for every wax and rider. Use the product guidance as your baseline, then inspect the chain based on conditions.
- Dry road riding: Track mileage and inspect the chain as you approach the recommended interval.
- Gravel and dusty roads: Check more often because abrasive dust can enter the drivetrain.
- Rain or mud: Inspect and clean the chain after the ride; re-wax when the coating is compromised or the product instructions call for it.
- Before a long ride: Check chain condition and shifting instead of relying on mileage alone.
Some riders keep a spare chain ready, install the freshly waxed one, then prepare the used chain later. This is optional, but it can make maintenance more convenient.
Common Chain-Waxing Mistakes
- Leaving grease behind: Incomplete cleaning can prevent proper wax adhesion.
- Waxing a damp chain: Let the chain dry fully first.
- Overheating wax: Use the specified heating method and temperature guidance.
- Using food cookware: Keep wax equipment dedicated to bike maintenance.
- Adding oil over wax: Drip lubricant can contaminate the wax coating; follow the wax maker’s guidance if changing systems.
- Ignoring chain wear: Wax cannot repair a worn or damaged chain. Measure wear and replace parts when needed.
- Rushing installation: Confirm the quick link is secure and test shifting before riding.
Related Bike Maintenance Guides
Keep your drivetrain and the rest of your bike in good shape with these BikeRushHub resources:
For additional repair references, visit the Park Tool Repair Help Center.
Frequently Asked Questions
Is hot waxing better than regular chain lube?
Wax is a strong option for riders who want a cleaner drivetrain and are willing to spend more time on preparation. Wet and dry lubes may be more convenient, and the best choice depends on conditions and maintenance preferences.
Can I wax a used bike chain?
Yes, if the chain is in serviceable condition and all old lubricant and contamination are thoroughly removed. Follow the wax maker’s preparation instructions.
How long does a waxed chain last between treatments?
The interval varies with the wax formula, weather, terrain, and riding style. Use the manufacturer’s guidance and inspect the chain regularly rather than treating one mileage number as universal.
Can I ride in the rain with a waxed chain?
Yes, but rain and mud can shorten the useful life of the coating. Inspect the chain after wet rides and re-wax when needed.
Why does a freshly waxed chain feel stiff?
Wax hardens as it cools, so the chain may initially feel stiff. Gently flex each link after it has cooled completely. If a link remains stuck, inspect it before riding.
Waxing Supplies to Consider
Start with bicycle-specific wax and a safe, dedicated heating setup. Confirm compatibility with your chain and follow the product instructions.
Keep Your Drivetrain Running Smoothly
Consistent cleaning, correct lubrication, and regular chain-wear checks help keep your bike ready for the next ride.
